A week or so ago I bought the most gorgeous jersey fabric from http://www.thimbleandnotch.co.uk. As soon as it arrived, I knew that it would lend itself well to a bodycon dress and so the pattern hunt began. I decided on the MCCalls M7531 pattern as I liked the different neck/sleeve variations and the lengths of the dress. On the approach to 40 years old I feel that I need to try and keep things as sophisticated and classy as possible whilst still wanting to feel good about myself!
The fabric I purchased was a high quality jersey covered in Flamingos, called ‘flock party’. I absolutely love this kind of fabric, it’s fun, bright, vibrant and happy….all of the things I feel closely match my personality!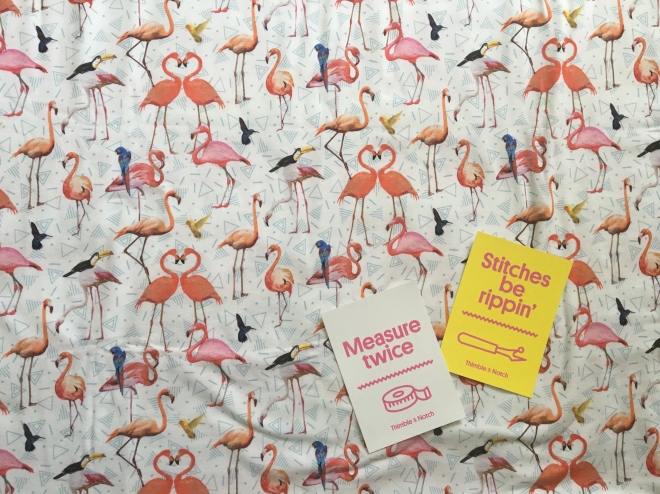
So, last night I spent time cutting the pattern and fabric and figured I’d get around to the make at some point over the weekend – at least it was ready to go! However, I ended up waking at 06.15 this morning and so I thought well I may as well make a start! I have pictured the various stages of this make as I honestly don’t think I have ever made such a simple dress…you could potentially whip this up a couple hours before going out if you’re an experienced seamstress! It only took me two hours and i’m still at the beginning of my sewing journey.
This is what the make entails:
First of all you sew the back seam, you are advised to do this at 1.5cm and then again at 6mm. I think this may be because the fit is snug and you don’t want any of those embarrassing stitch rip moments! Well worth taking the time to do this.


You then go straight into sewing the shoulder and side seams, in the same manner as you did the back. I like to try my garment on for size at this point as if it’s too small/big, there is no point in continuing until this is rectified. Once this is done and you are happy you can hem the neckline with a 1.5cm seam. I thought this was going to be quite a challenge but actually, it was fine and posed no issues.


Next you turn your attention to the sleeves, sewing them up at the side seam and finishing the cuff hem. This was quite challenging as the cuff is so small. You really have to be mindful so as not to pucker the fabric.
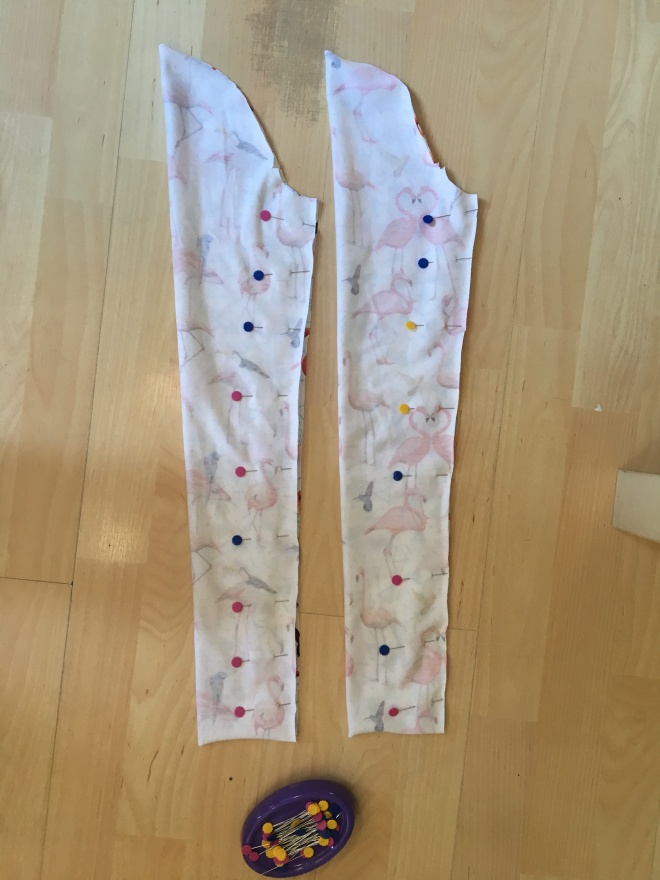
Then comes my favourite part, sewing the sleeves into the dress. Many people seem to dislike this but I find it strangely satisfying. You really need to spend time over this ensuring that the seams and notches match. With this pattern, as with many others, you are left with much too much sleeve to fit into the hole and so you must stretch it to fit. It is wise to pin this all into place and baste the sleeve first to check that you have a good finish. I tend to change my tension setting to a 4 and baste that way as opposed to by hand! I always make sure I keep a good tension when sewing the sleeve in too as if you don’t then more often than not you end up with a pucker in the sleeve…that is just annoying! The photographs below show the sleeves ready to be sewn in…its those ripples you see that you you to pull straight when sewing the sleeve, if this was to be sewn without tension you’d have a million little puckers. I know as obviously learnt the hard way!!


Once the sleeves are successfully sewn in it’s just a case of hemming the dress. Again, I try on the dress at this point and decide where I’d like it to finish. I then pin, press and sew! Job done!!
Here is the finished article…..


And this is how it looks once on…..


I was so happy with this dress, it’s just a little bit different and a lot of fun! I hope my fellow beginner sewers find this blog helpful. As we all know patterns come with instructions but I always find that you can’t beat a little additional help! Maybe it’ll even inspire you to make one of these. The pattern only required 1.2m of fabric for my size (UK 8-10) so it’s a reasonable make. You can splurge on some of your favourite jersey and whip up a party dress all in a couple of hours! On top of that I don’t think I’ve made a more simple dress, it really is an easy one!
I hope you all have a wonderful bank holiday weekend, enjoy the sunshine! I know I will!
Until next time –
The Zipper Foot